© Copyright 2025. All Rights Reserved by Presto Stantest Pvt. Ltd.
13-Oct-2026
Presto Enviro
To set up an environmental testing lab, work through eight steps in order:
1. Define which tests and standards you must run.
2. Convert them into chamber specifications.
3. Choose the chamber types and sizes.
4. Plan the room, layout, and utilities.
5. Add supporting instruments and data systems.
6. Set up calibration, validation, and quality procedures.
7. Train people and write procedures.
8. Budget for the full lifetime cost, not just the purchase price.
An in-house lab can deliver results, give better control over product testing, and reduce testing costs in the long run. To make it work well, the lab space, equipment, utilities, and testing methods must be planned according to your needs. Common mistakes often involve picking the chamber size missing key test requirements and not paying attention to power, water, ventilation and airflow needs.
Presto Enviro is a manufacturer and supplier of test chambers in India. They offer temperature chambers, humidity chambers, climatic chambers, thermal shock chambers, and walk-in test chambers for testing applications.
+91 977 366 6011 | response@prestoenviro.com | www.prestoenviro.com
Sending tests to a third‑party lab can be helpful when you only need a test. When you test often, keeping a lab inside the company can be far better:
A way to find out if you need a lab in your building is to add up all the money you spend every year on testing done outside your place. This includes fees sending samples somewhere waiting for results and any extra costs that come from delays. Next look at the cost of having a lab in your building over the time you use it. This includes buying the lab putting it in place, electricity making sure it works things you need to use it and the time your workers spend on it. If the money you spend on testing is usually higher than the yearly cost of having your own lab then it makes a lot of sense to get an, in-house lab.
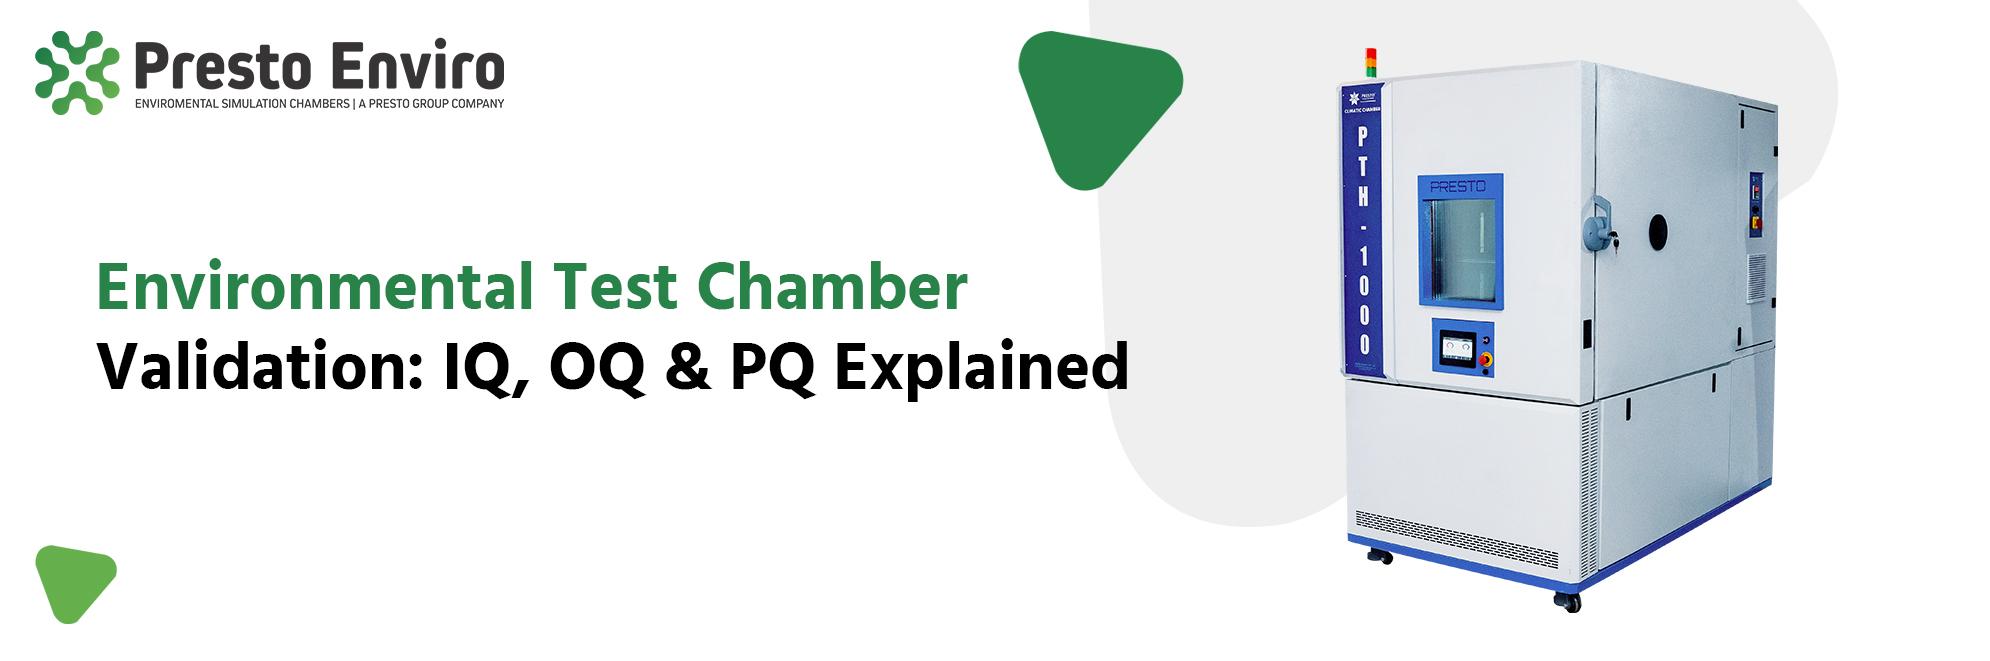
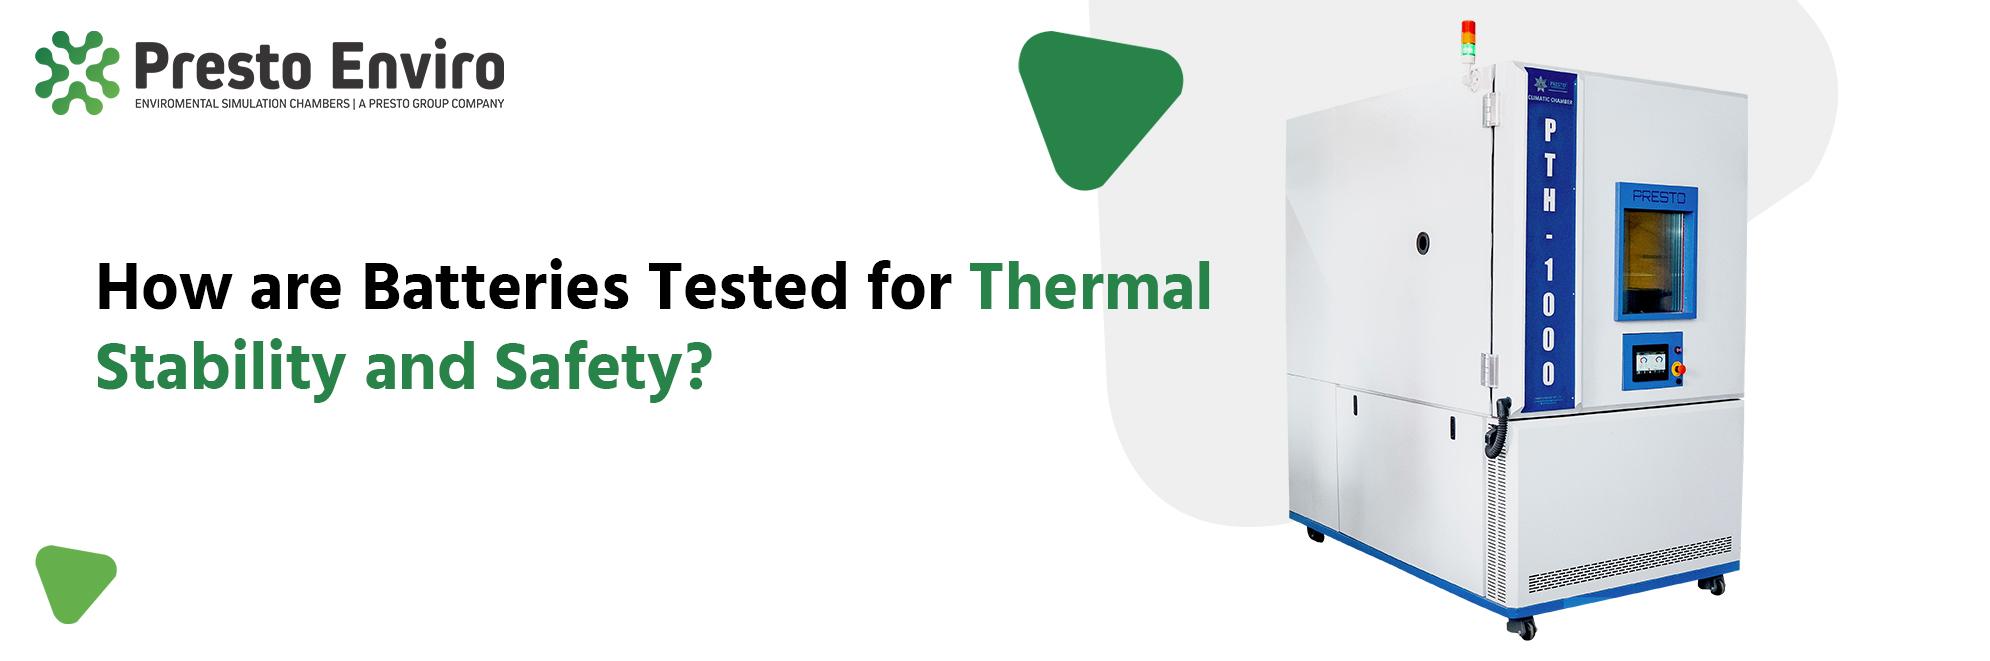
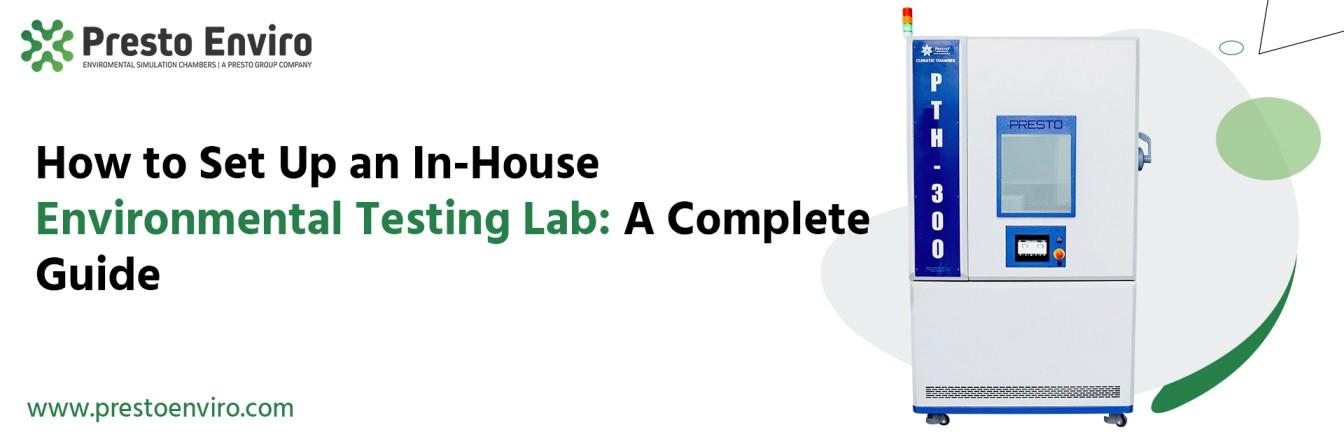
Presto Enviro makes test chambers that copy temperature, humidity, and weather conditions so that products can be tested in real-life situations. These chambers are made to order in terms of size, range, ramp rate, and automation. They are built according to rules, like IEC 60068, MIL-STD-810G, ASTM, and JSS 55555.
Explore Environmental Test Chambers
Before looking at any equipment, write down the following:
Common standards by test type
|
Test type |
Typical standards |
What it checks |
|
Dry heat/cold |
IEC 60068-2-2, IEC 60068-2-1 |
Function and storage at temperature extremes. |
|
Damp heat (steady state) |
IEC 60068-2-78 |
Effects of high humidity |
|
Damp heat (cyclic) |
IEC 60068-2-30 |
Condensation and moisture ingress |
|
Temperature change (shock) |
IEC 60068-2-14, MIL-STD-810 Method 503 |
Thermal stress and CTE mismatch |
|
Climatic sequence for military equipment |
MIL-STD-810 (Methods 501, 502, 507) |
Service environment suitability |
|
Semiconductor reliability |
JESD22 series |
Temperature cycling, humidity, thermal shock |
|
Automotive electronics |
ISO 16750, AEC-Q100 |
Environmental durability |
|
Salt spray corrosion |
ASTM B117, IEC 60068-2-11 |
Corrosion resistance |
|
Battery abuse and safety |
IEC 62133, IS 16046 |
Safety under temperature and stress |
Check the current edition of each standard and your customer's specification before finalising requirements.
This step turns test requirements into numbers you can put on a purchase order.
The temperature range should include a bit more than your highest test temperatures. A typical range is from degrees Celsius to 180 degrees Celsius, for general-purpose chambers. However, some applications can work well with a limited range that is less expensive.
Humidity range: Humidity control is only possible within a temperature window, defined by the chamber's climatic diagram. Check that your test points (for example 85 °C / 85 %RH) lie inside it.
Ramp rate: Standards and reliability programs might set a rate in degrees Celsius per minute. How fast the temperature changes depends on how much material is being heated or cooled. So always tell the rate along with the load you are using, not when the chamber's empty.
Working space volume: Use this rule of thumb. The part you are testing plus the tools you use should take up a small part of the available space. This allows air to move around properly. If the space is too full, the temperature does not spread evenly. The changes happen very slowly. Most companies say you should keep the amount of stuff you put inside less than half of the total space. Check the amount allowed for the model you are using.
Uniformity and stability: Ask for stated uniformity and fluctuation values and how they were measured.
Access and integration: Cable ports for powered specimens, viewing window, internal lighting, shelves, racks and data interface.
Safety features: Independent over-temperature protection, sample protection limits, door interlocks and alarms.
Data and connectivity: A programmable controller with profile storage, data logging, remote monitoring and export of test reports.
Match the chamber type to the test:
|
Chamber type |
Best for |
Notes |
|
Temperature chamber |
Dry heat and cold tests, burn-in, ageing |
Simplest and most economical |
|
Temperature and humidity chamber (climatic chamber) |
Damp heat, humidity cycling, storage |
The workhorse of most labs |
|
Thermal shock chamber |
Rapid hot and cold transitions (IEC 60068-2-14, MIL-STD-810 Method 503) |
Dedicated equipment for shock. |
|
Walk-in chamber |
Large assemblies, racks, vehicle components |
Needs more space and utilities |
|
Salt spray chamber |
Corrosion testing |
Needs drainage and ventilation |
|
Altitude / low-pressure chamber |
Aerospace and pressure tests |
Specialised |
|
Battery test chamber |
Safety and abuse testing |
Requires explosion-relief and gas handling design |
|
Stability chambers |
Pharmaceutical and food stability studies |
Long-duration tests with tight control |
A good starting point for a lab is to have one chamber that handles temperature and humidity. This type of chamber covers the common tests, making it very useful early on. As the lab expands, you can add a shock chamber and other specialized chambers. When setting up the space, make sure it’s laid out to fit a second or even a third chamber in the future. Planning ahead saves time and money later.
The room affects chamber performance as much as the chamber itself.
|
Utility |
Planning points |
|
Power |
Check voltage, phase, and load for each chamber before you start. Use circuits, correct cable size, earthing and a stabiliser or UPS where the site supply is unstable. Plan for peak load when several chambers start at once. Pay attention to peak load when several chambers start at once. |
|
Cooling (air-cooled) |
Chambers push heat into the room. Make sure there is ventilation or air-conditioning to keep the temperature in the room within the manufacturer's guidelines. |
|
Cooling (water-cooled) |
A clean water supply is required. If a clean water supply cannot be used a chilled‑water loop must be installed. The flow rate and temperature, for either the water supply or the chilled‑water loop, must match the values the manufacturer has specified. |
|
Water for humidity |
Use the water quality that the manufacturer specifies, which's usually demineralised or deionised water. Make sure to plan for a water treatment unit and a water storage unit. Also include a drain, in your setup. |
|
Compressed air/nitrogen |
Some chambers or tests need dry air or gas purge. |
|
Drainage |
Needed for humidity, salt spray and condensate. |
|
Exhaust |
Needed for battery, salt spray and any tests that could release fumes. |
|
Network |
For data logging, remote monitoring and time synchronisation. |
Chambers are rated for a specified room temperature range, and hot, dusty, humid rooms reduce performance and shorten equipment life. Keep the room clean, ventilated and controlled.
A chamber alone does not make a lab. Plan for:
Test results are only as good as the evidence that the chambers delivered the conditions you claim.
Installation, operational and performance qualification (IQ/OQ/PQ):
Calibration: Make sure to check the temperature and humidity sensors against trackable references on a regular basis. Save all the certificates. Also keep records that show what the sensors were like before and after each check.
Uniformity mapping: Put sensors in the area where the work is done and look at how the readings change from one place to another and how steady they are.
Accreditation (If you want to provide test reports to customers or, to government officials following the rules of ISO/IEC 17025 and trying to get NABL accreditation can make your work more trusted. A lot of labs that work inside companies start without this accreditation. Get it later.
Documentation to prepare from day one:
Equipment does not test itself, so it is important to have trained people and clear procedures in place. Assign responsibilities for test planning, chamber operation, and checking results. Approving reports. Make sure operators are trained on how to load equipment, program it handle alarms, manage water, deal with emergencies, and do checks. Make sure there are step-, by-step test procedures that cover sample preparation setting up fixtures placing thermocouples setting acceptance criteria and recording results. Keep records of the skills and training of the staff. Plan regular maintenance checks to find small problems before they turn into big issues.
The chamber's price is only part of the cost.
|
Cost item |
Description |
|
Capital cost |
Chambers, supporting instruments, racks, and fixtures. |
|
Site preparation |
Room civil work, electrical work, ventilation, drainage, water treatment. |
|
Installation and commissioning |
Delivery, positioning, connection, first start-up |
|
Qualification and calibration |
Initial IQ/OQ/PQ and periodic calibration |
|
Operating cost |
Electricity, water, consumables and refrigerant top-up |
|
Maintenance |
Planned servicing and spare parts |
|
People |
Operators, engineers and training |
|
Accreditation (if pursued) |
Assessment fees, proficiency testing and documentation |
Tips to keep cost under control
|
Mistake |
Consequence |
How to avoid it |
|
Buying before defining standards |
Chamber doesn't cover required tests |
Complete Steps 1 and 2 first |
|
Undersized working space |
Poor uniformity, slow ramps |
Size for specimen plus airflow margin |
|
Ignoring the load in ramp-rate specs. |
Ramp targets not met in real use |
Specify ramp rates with your load. |
|
Poor ventilation |
Overheating, compressor stress |
Follow the manufacturer's clearance and ambient limits. |
|
Wrong water quality |
Scale, sensor drift, humidifier faults |
Use specified water and treatment |
|
No independent monitoring |
Chamber errors go unnoticed |
Add separate data loggers |
|
No calibration plan |
Data can't be defended |
Set schedule and records from day one |
|
No room for expansion |
Costly rework later |
Plan power, space and utilities for growth |
|
Phase |
Timeline (indicative) |
Activities |
|
1. Planning |
Weeks 1 to 4 |
Test requirements, standards, chamber specifications, budget. |
|
2. Selection |
Weeks 3 to 8 |
Request proposals, review GA drawings, compare offers |
|
3. Site preparation |
Weeks 6 to 14 |
Power, ventilation, water, drainage, room finishing |
|
4. Delivery and installation |
Following the manufacturing lead time. |
Delivery, positioning, connection, commissioning. |
|
5. Qualification and training |
1 to 3 weeks |
IQ/OQ/PQ, calibration, operator training |
|
6. First tests |
After sign-off |
Pilot runs, procedure refinement, routine operation. |
Timelines vary with chamber type, customisation and site readiness.
Setting up an environmental testing lab is a step-by-step process. Each step builds on the one before it. First, think about your products and the standards you need to meet. Then turn those into chamber specifications. Pick the types of chambers. Design the room, utilities, and procedures to fit them.
Don’t forget calibration. Make sure your team is trained. Set a budget that’s realistic. When you do all this, your lab will give you data you can trust. If done right, an in-house lab speeds up product development. It finds problems before your customers do. Over time, it becomes a reliable part of your business.
Work with a manufacturer who can help you from the start. They should give you drawings, utility needs, and guidance on how to use the equipment. That kind of support makes a difference.
Planning to set up an environmental testing lab?
Presto Enviro is a maker and seller of test chambers in India. Tell us your test standards, the temperature and humidity range needed, the size of the specimen, and the size of your lab space, and Presto Enviro will suggest the environmental test chamber and will send you a technical proposal that includes GA drawings and a price quote.
+91 977 366 6011
response@prestoenviro.com
www.prestoenviro.com
Environmental Test Chambers
1. How much space do I need to set up an environmental testing lab?
It depends on how many chambers there are and what kind they are. Make sure to include the space the chamber takes up plus area for service access and room for workflow, storage, and future growth. Walk-in chambers take up a lot of space. Contact the manufacturer for an installation drawing that shows all the required clearances.
2. Which environmental test chamber should I buy first?
Many labs begin with a temperature and humidity chamber because it can handle the range of tests. If your test program requires something specific, add a thermal shock chamber or another specialized chamber when needed.
3. What utilities does an environmental test chamber need?
Typically there is an electrical supply that has good grounding, enough air flow or air conditioning and clean water and proper drainage, for the humidity systems. Some chambers require water cooling, compressed air, or exhaust systems. The installation requirements list from your manufacturer has the numbers.
4. How often should chambers be calibrated?
Annual calibration is common. Always follow your quality system. Always follow customer requirements too. Also consider the chamber’s performance history. Keep all certificates. Keep as-found and as-left records.
5. Is it cheaper to set up an environmental testing lab or outsource testing?
Outsourcing works for testing that happens now and then. An in-house lab usually ends up being less expensive if you test often, and it makes development go faster. Look at how much you spend each year on testing and compare it to the total cost of having the chambers for their whole life.
6. How long does it take to set up an environmental testing lab?
Planning, site preparation, manufacturing, installation, and qualification usually take a month. Custom chambers or large chambers and site work can make the time longer. Reach out to your chamber supplier. Ask about the manufacturing lead time.
7. Can Presto Enviro customise a chamber for my lab?
Yes. Presto Enviro configures chambers to match your needs. They adjust for size, temperature, humidity range, ramp rate, and automation. Everything is set to fit your application and your standards. Share your requirements with the team. They will provide a proposal.
Elevate your quality assurance process to new heights
Related Blogs

23-Sep-2026
Presto Enviro
Products are expected to work reliably for months or years, but manufacturers cannot always wait that long to find out how they will perform. Accelerated aging testing solves this problem by exposing products to controlled environmental conditions that speed up certain aging effects.