© Copyright 2025. All Rights Reserved by Presto Stantest Pvt. Ltd.

05-Aug-2026
Presto Enviro
Environmental testing keeps defective products off store shelves and out of field operations. When done right, it uncovers hidden design flaws before customers ever see them. This article breaks down five major mistakes manufacturing teams make during chamber testing and how you can avoid them.
Every manufacturer wants reliable products. Nobody wants a sudden product recall or constant warranty claims filling up the inbox. Testing components under tough environmental conditions is supposed to shield companies from these disasters. Yet, testing equipment and testing processes themselves often introduce major errors.
Many lab teams run tests daily without realizing their setup is flawed. Small oversights in sensor placement or chamber loading can completely alter reading outputs. That leads to false passes where weak products slip through or false failures where perfectly good designs get scrapped. We are taking a practical look at these issues so you can sharpen your test protocols.
Environmental testing places a product inside a controlled chamber to simulate environmental extremes like heat, cold, and humidity. It shows how materials and electronics respond to stresses they will face throughout their operational lifespan.
Think about an electronic sensor mounted under the hood of a car. That sensor experiences freezing winter mornings, scorching heat from the engine bay, and heavy moisture from rain spray. In a lab, engineers place that sensor inside an environmental chamber. They program the chamber to drop to negative forty degrees, swing up to ninety degrees, and flood the air with ninety-five percent relative humidity.
By running these cycles over several days, engineers gather real data. They watch for cracked housings, trace corrosion, and electrical shorts. In simple terms, it compresses years of outdoor wear into a few days of observation. That way, design teams fix vulnerabilities early.
If there are too many test samples in one chamber, the air circulation becomes disturbed and the temperature zones become uneven. If airflow is obstructed, samples in the center will never reach the set temperature targets.
Test chambers rely heavily on continuous air movement to transfer thermal energy evenly across every surface. When test engineers crowd the chamber floor or stack components tightly together, air currents get blocked. Cold or hot pockets form inside the workspace. A sensor on the left wall might read eighty degrees, while a component hidden behind a heavy stack remains stuck at sixty degrees.
This part matters because your test data becomes inaccurate instantly. You end up testing some components aggressively while leaving others sitting right next to them. The test run looks complete on paper, but half your batch never actually saw the required thermal stress. Advanced environmental test chamber designs from Presto Enviro have optimized airflow ducts to mitigate gradients but proper loading is needed.
Proper spacing and respecting workspace limits ensure clean air circulation throughout the entire test cycle.
Be sure to always adhere to the air volume recommendations as recommended by your chamber manufacturer. Maintain a minimum of two to three inches of space around each of your samples to allow free air circulation in all areas. If you are testing a large number of parts, you should divide the parts into more than one test batch to minimize overcrowding in one single chamber.
Unmapped Sensors drift over time. Temperature probes and humidity sensors inside environmental chambers face constant thermal shocks, moisture buildup, and vibrations. After months of heavy operation, a sensor that reads forty degrees might actually be at 36 degrees. If you rely on uncalibrated instruments, your entire testing process operates on false assumptions.
Chamber mapping is another step people forget. Just because the central display says the temperature is uniform does not mean every corner of the chamber matches that number. Without periodic multi point mapping, you have no way of knowing if temperature gradients are creeping into your test runs.
Routine calibration and knowing how to carry out thermal mapping correctly ensures you get accurate and compliant test results. You should regularly calibrate the temperature measuring devices and do so as frequently as once or twice a year with certified devices. Full thermal mapping of the chamber using a number of thermocouples is also important to pinpoint any hot and cold spots of the experimental system prior to testing.
Ramping temperatures too fast creates artificial thermal shocks that break components in ways that would never happen in real life. Overstressing products leads to unnecessary redesign costs and wasted development time.
Accelerated testing is great for saving time, but pushing ramp rates too far creates chaos. If you heat or cool a sample ten times faster than its natural thermal expansion rate, materials stress unevenly. Plastics crack and circuit traces lift not because the product is bad, but because the test profile was unnaturally brutal.
This causes a lot of frustration for engineering teams. You end up redesigning a perfectly capable housing or selecting expensive materials to fix a failure mode that only exists inside your overly aggressive test cycle. Realistic acceleration speeds up testing without causing nonrepresentative failures.
The ramp rates can be set according to recognized test standards, which can help keep the stress levels in a reasonable engineering range. Make sure the ramp rates and exposure times are within the standards ( IEC or MIL STD requirements ). Make sure that the acceleration factors are related to real field conditions, not imaginary time-saving targets.
Using samples taken directly from the storage without prior conditioning can have the effect of creating non-uniform moisture contents and errors in the thermal state of the sample. Non-conditioned specimens yield results that are not consistent enough so that it would become possible to repeat them under similar conditions.
Materials like polymers, composites, and circuit boards absorb moisture from ambient air during storage. If you take a plastic housing from a humid warehouse and throw it straight into a high temperature test, trapped water turns to steam instantly. That steam causes internal blistering and cracking that would not happen if the material had reached thermal and moisture equilibrium first.
Sample placement and cleanliness matter just as much. Finger oils, dust, and residual solvents left on component surfaces react with the temperature lingering inside the chamber. These contaminants trigger premature surface breakdown or false corrosion indicators.
By employing standardized sample stabilization and stringent cleaning protocols, the noise induced by unwanted tests is eradicated.
Set rigorous pre-conditioning standards, e.g., at least 24 hours in a controlled temperature and humidity environment. To prevent any contamination on the tested surface, thoroughly clean all samples and use gloves during their manipulation.
If moisture can condense on the components of an electronic test sample without any control, short circuits may occur and false failure reports may be sent. Failure to maintain the chamber such as seal checks and water filtration, can cause unexpected downtime.
When temperature drops rapidly inside a chamber, air moisture reaches the dew point quickly. Water droplets form directly on test specimens. If electrical power is running through those specimens, condensation creates instant short circuits. Engineers might report an electrical failure when the actual culprit was improper humidity sequencing inside the chamber.
Chamber hardware needs steady attention too. Worn door gaskets let room air leak into the workspace, forcing heaters and refrigeration units to work double time. Dirty water lines cause mineral deposits on humidity heaters, leading to system failure right in the middle of an important test cycle.
Controlling the dew point properly allows you to prevent surprise breakdowns during shutdown and routine preventive maintenance work. Make sure to apply the proper humidity control sequence by reducing humidity levels before lowering temperatures so that the water does not condense on the functioning electronic circuits. Inspect door seals, clean water filters, and service refrigeration compressors regularly to keep the system running smoothly.
Environmental testing allows manufacturers to be sure their products will withstand the rigors of the real world. Keeping these simple mistakes at bay such as chamber crowding, sensor calibration that is not as good as it could be, unrealistic acceleration, omitted sample preparation, and lack of proper maintenance, ensures accurate results every time.
One of the immediate benefits is to improve your testing procedures. This will cut down on warranty costs and improve product quality. Good testing habits save your engineering team hundreds of hours of re-work and protect your brand image.
Presto Enviro makes its mark as the best environmental chamber manufacturer committed to offering accurate and dependable testing solutions. Our advanced chambers enable manufacturers to generate accurate thermal and humidity conditions with a consistent airflow and user-friendly control systems. Partnering with top names like Presto Enviro will help you optimize the efficiency and accuracy of your quality-assurance program.
Elevate your quality assurance process to new heights
Related Blogs

23-Sep-2026
Presto Enviro
Products are expected to work reliably for months or years, but manufacturers cannot always wait that long to find out how they will perform. Accelerated aging testing solves this problem by exposing products to controlled environmental conditions that speed up certain aging effects.
20-Sep-2026
Presto Enviro
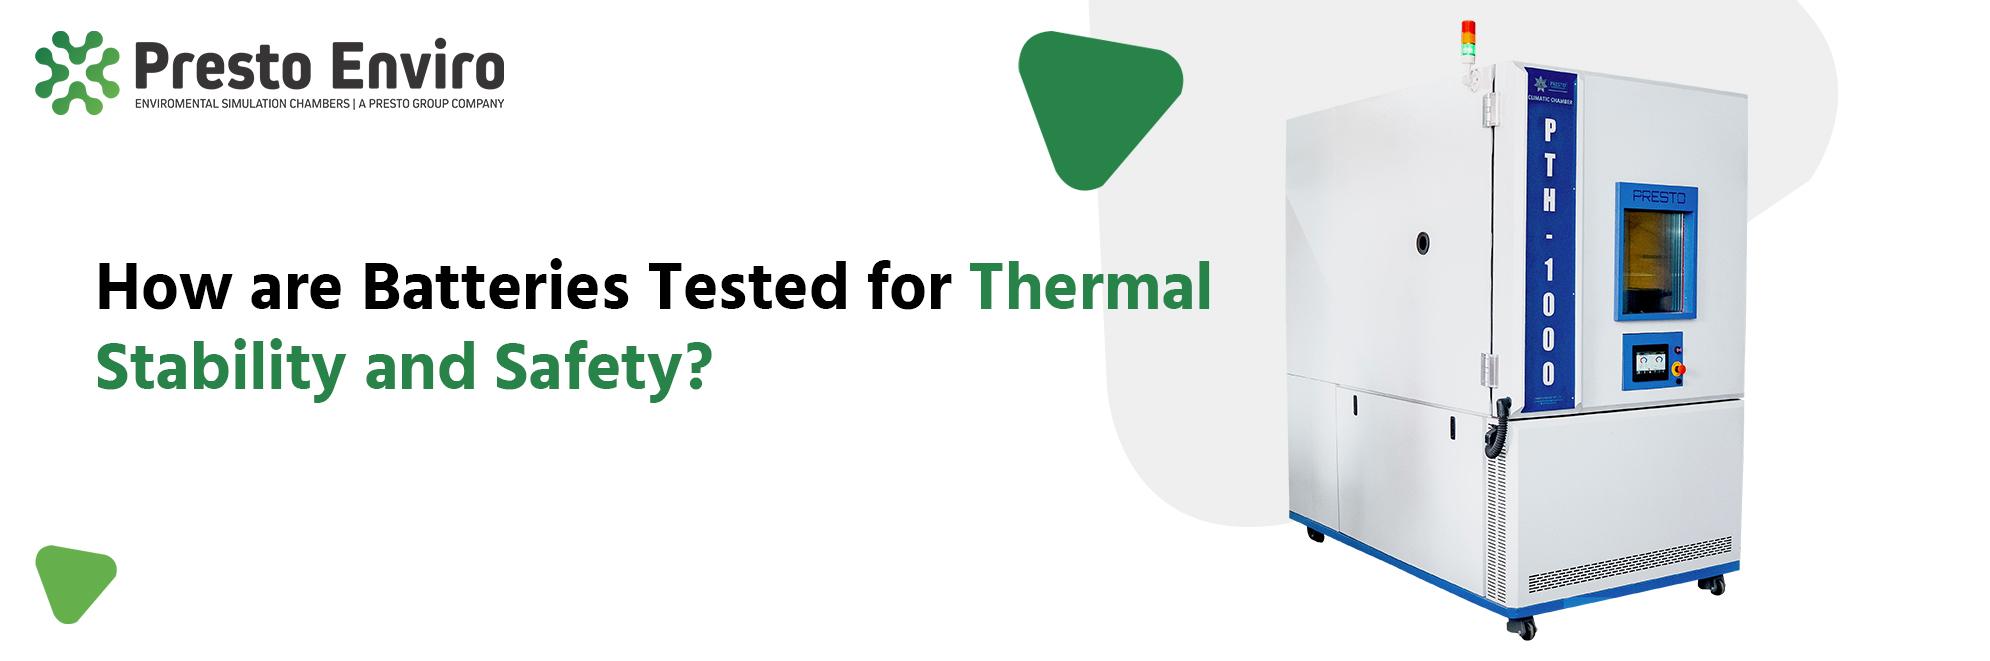
Battery safety is not something manufacturers can check only after a battery is ready for use. Temperature, charging conditions and repeated use can change the way a battery behaves. In some cases, excessive heat can cause permanent damage or create serious safety risks.
15-Sep-2026
Presto Enviro
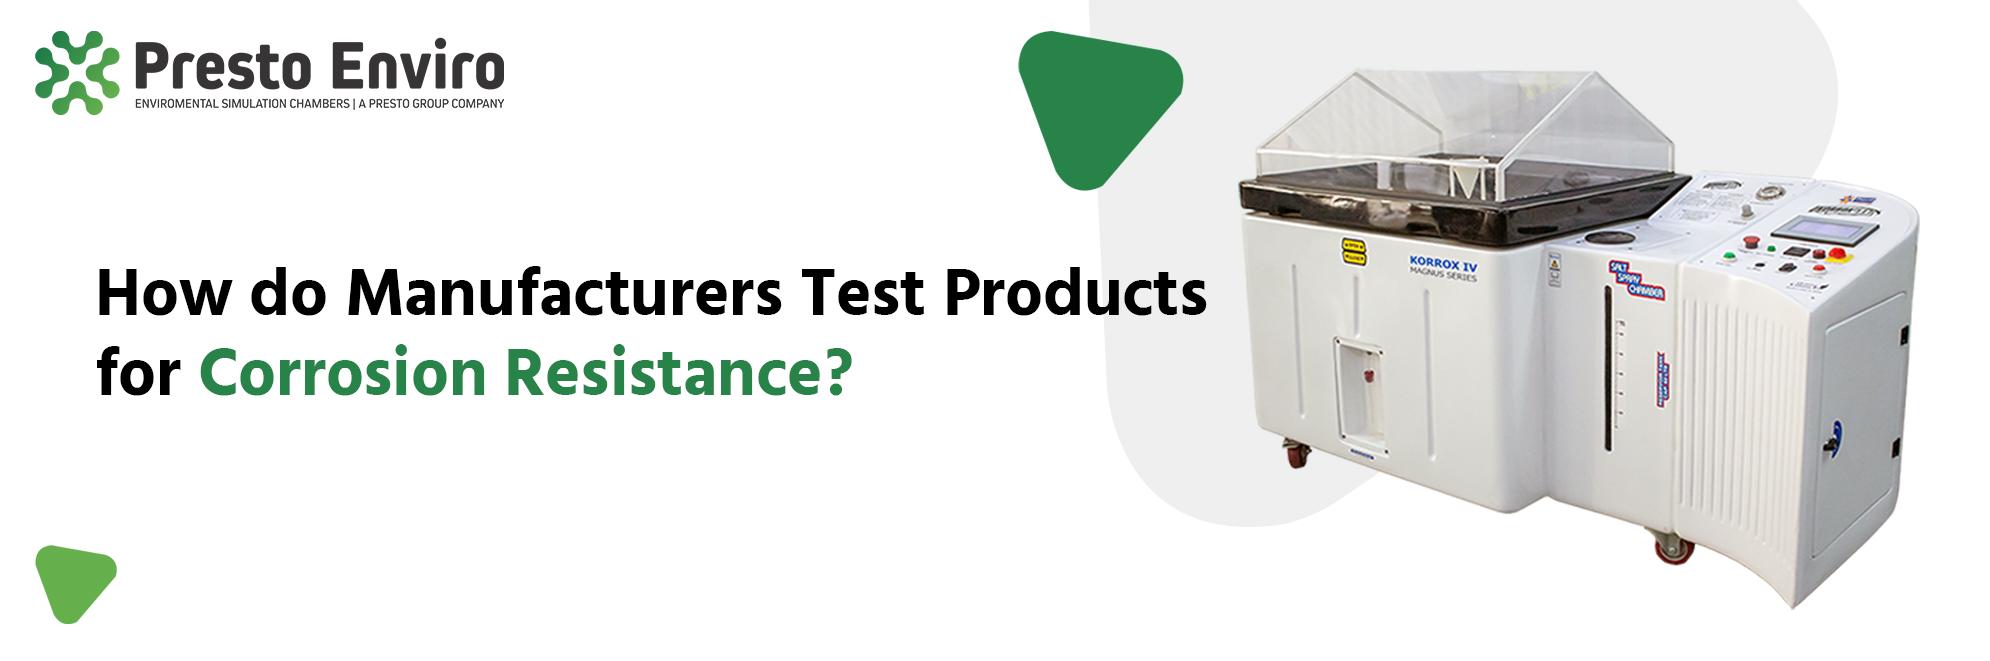
Corrosion is one of those problems that may appear mild at first and later turn costly. A metal part may leave the manufacturing facility appearing undamaged, yet suffer corrosion, stain formation or coating failure as a result of its contact with moisture, salts and changing weather conditions.