© Copyright 2025. All Rights Reserved by Presto Stantest Pvt. Ltd.
22-Jul-2026
Presto Enviro
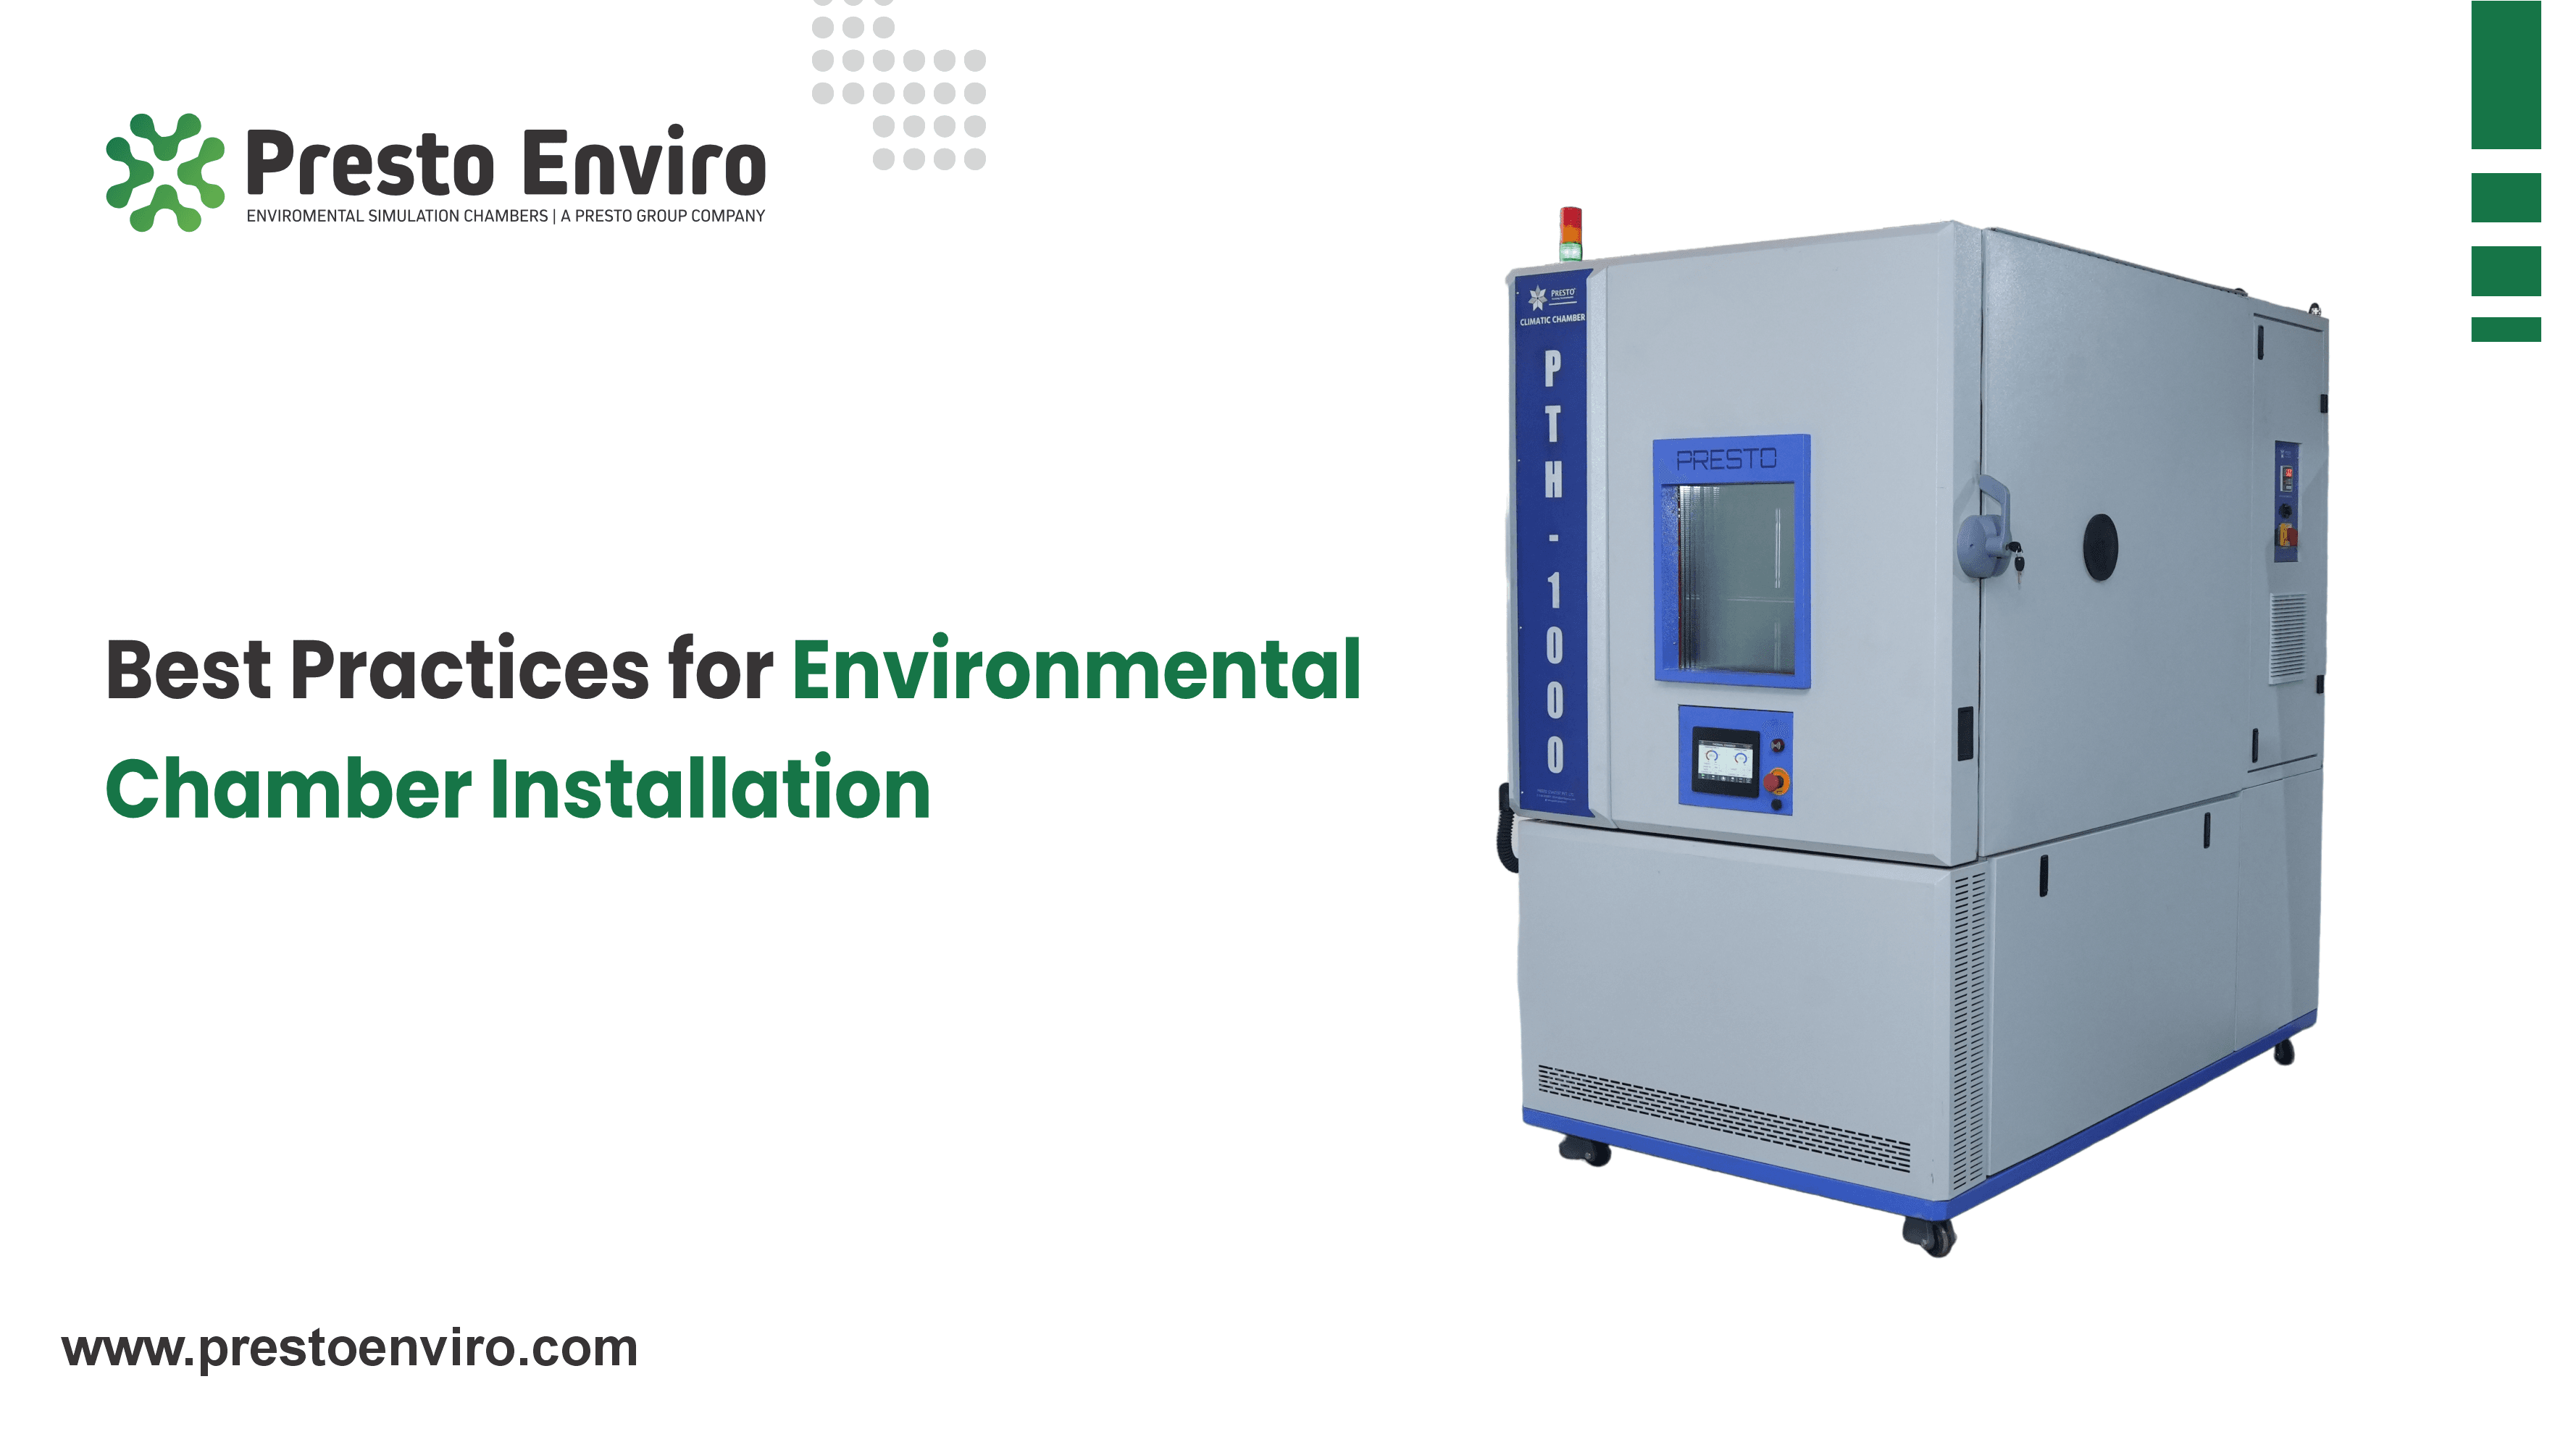
When setting up a new environmental test chamber, prior preparation is important to ensure that there are no initial setbacks. This guide outlines the main installation procedures, the usual pitfalls to avoid, and the key principles of site preparation that are necessary for effective long-term testing.
Industrial testing chambers are extremely sophisticated devices that need to be handled with care. If you place them in a constricted area or connect them to unreliable electrical wires, your testing results will be compromised. Companies often spend big money buying top-grade testing hardware but rush the physical setup. That leads to unexpected downtime, poor sensor calibration, and early equipment failure.
This happens frequently across most of the manufacturing facilities. A chamber gets delivered, pushed into a spare corner, plugged into an available outlet, and turned on. Then three weeks down the line, compressor motors start overheating or moisture control acts up. This article covers practical setup methods that prevent those exact issues so your equipment runs smoothly from day one.
Most chamber failures come down to simple site errors like poor airflow, unstable voltage supply, or unlevel flooring. Cutting corners during setup usually leads to skewed test data and costly repairs.
Installing properly requires an isolated climate-controlled room, separate power feeds to the cabinet, a pure water supply and ample service clearances surrounding the cabinet. When these steps are followed, the tests are maintained in a proper condition for a long period of time.
Choose a clean space on the floor that allows for ample room to move around it. Proper spacing keeps air moving freely and makes routine maintenance far easier for technicians.
Position the unit inside a temperature-regulated room. Ambient heat around the chamber ought to stay under reasonable limits so internal condensers cool off efficiently. Leave at least three feet of open space around all four sides. This part matters because service engineers need space to open side panels, trace plumbing, and check electrical components without pulling the whole machine out.
Connect the equipment to a dedicated circuit breaker with exact voltage matching. A clean electrical power supply avoids controller lockups and helps to keep the sensitive circuits in the sensor from being damaged.
Test the rating plate before making connections. Electronic control cards are easily damaged by voltage changes. Connect the machine to an isolated feed, which is apart from plant machines such as punch presses and arc welders. Check for double connections in the ground on the sensor screen as electrical noise can cause false temperature spikes.
Provide demineralized water for humidity generation, and ensure that drain lines are routed downwards without any bends. Good water quality protects the heater, and proper drainage will prevent internal flooding.
Always install water purification units upfront if your tests need relative humidity control. Demineralized or distilled water stops scale from coating heating elements and clogging fine spray nozzles. Direct the drain hose straight down toward a floor drain. Keep the hose line short, free of bends, and vented to atmosphere so condensation flows away easily.
Adjust the cabinet feet until the unit sits completely level, then verify the door seal tightness. Proper levelling prevents structural warping and stops ambient air leaks.
Use a spirit level across the top edges of the cabinet frame. Adjust the leveling pads under each corner until the bubble sits dead center. Once the machine is level, shut the door on a slip of paper at different points around the frame. If you can pull the paper out easily, adjust the door latches. Tight seals keep room air out and preserve steady chamber conditions.
Presto Enviro offers complete environmental chamber installation assistance, site evaluation, and calibration support. Working with experienced technicians takes the uncertainty out of complex chamber setups.
It takes a lot of time and technical experience to get all these things right. When you work with specialists on the team, like Presto Enviro, it’s a lot easier. Our technical engineers evaluate room layouts, check the power stability, and look at the water connection needs before the unit even gets to the site. That preparation avoids unexpected delays in getting the unit up and running.
Working with experts like Presto Enviro means your chamber gets calibrated accurately right after placement. We check for temperature uniformity over the whole chamber workspace, confirm the balancing of air flow and train your personnel in daily operations. Getting professional assistance helps to save your equipment warranty and makes you sure about every run you make.
A careful installation process forms the foundation for accurate environmental testing. Following correct setup steps saves money, prevents downtime, and extends equipment life. More goes into setting up an environmental test chamber than just plugging in wires and flipping a switch. Space clearance, stable power, clean water lines, and precise levelling all have a direct bearing on how well your machine will perform over the next decade.
Avoid common shortcuts during delivery week. When you require expert assistance or full setup guidance, leaning on experienced professionals like Presto Enviro will keep your testing laboratory running smoothly. Contact us today for an environmental chamber installation guide and get a quote for the best quality environmental chambers.
Elevate your quality assurance process to new heights
Related Blogs

28-Aug-2026
Presto Enviro
Every day, EV batteries face harsh conditions. On the road, a high-voltage pack may deal with sudden freezing slush, extreme heat buildup during 350kW fast-charging stops, and continuous structural pounding from bad pavement.